You’ve pieced the top, quilted the layers, and now it’s time really set it apart with your creativity—the binding. While the classic double-fold binding never goes out of style, why settle for standard when your quilt deserves something extraordinary? Binding is more than just a way to cover raw edges—it’s an opportunity to add personality, flair, and polish. Let’s look at some creative ways to finish your quilt that go beyond the basics.
1. Flange Binding (a.k.a. Faux Piping)
Flange binding from Krista Moser tutorial
Flange binding adds a thin “pop” of contrasting color that frames your quilt like an artist’s mat around a painting. It’s constructed by sewing two strips together—one slightly wider than the other—so that when the binding is folded, the narrow accent peeks out along the edge.
Why it works: Adds dimension and contrast without hand-applied piping. Perfect for quilts with bold graphics or modern designs.
Pro tip: Use a high-contrast color for the flange to make your quilt’s edge sing.
Krista Moser has a step-by-step tutorial on her website “The Quilted Life”. There are tons on YouTube as well.
2. Facing Instead of Binding
A faced quilt from @the.weekendquilter
Sometimes you don’t want a visible frame at all. Facing allows the quilt design to run cleanly to the edge, almost like a gallery-wrapped canvas. Many quilters use a technique similar to this tutorial from The Weekend Quilter (@the.weekendquilter). The first uses the typical doubled strip of fabric sewn to the front, then turned completely to the back where it is invisibly stitched down, so the quilt edge looks crisp and borderless.
Why it works: Ideal for wall hangings or art quilts. Keeps the focus squarely on the piecing or quilting design.
Pro tip: Pair with a hanging sleeve for a professional, gallery-ready finish.
3. Big-Stitch Binding
Big stitch binding from @kitchentablequilting
Hand-binding is already satisfying, but big-stitch binding takes it up a notch by making the stitches part of the design. Instead of tiny, hidden whip stitches, you use thick thread or embroidery floss or even Perle Cotton to make visible stitches all around the edge. You can make them visible on one side (as shown in the Big Stitch Quilting Tutorial), or visible on both.
Why it works: Adds a handmade, folk-art vibe. Great for rustic, modern, or improv quilts.
Pro tip: Choose a thread color that contrasts with the binding fabric for extra visual punch.
4. Scalloped or Wavy Edges
Scalloped edge quilt from @abrightcorner
Who says quilt edges have to be straight? Scallops or waves (think gentle curves) turn a quilt into something playful and unexpected. The technique requires a template or special ruler and careful cutting, but the effect is worth it. Binding a scalloped edge does take patience, but the result is whimsical and elegant. Check out this scalloped edge binding tutorial.
Why it works: Adds movement and softness to traditional blocks. Perfect for baby quilts, holiday quilts, or anything romantic.
Pro tip: Bias binding is a must here—it’s stretch makes it hug curves beautifully.
5. Prairie Points as Binding
Prairie points are small folded triangles of fabric, often used as embellishments, both inside a quilt and as a binding. The technique is similar to facing, and when inserted into the edge instead of a traditional binding, they create a playful, textured finish that looks almost three-dimensional. The folks at Phoebe Moon Quilt Designs have a tutorial.
Why it works: Adds depth, texture, and a playful edge. Perfect for seasonal quilts or kid-friendly designs.
Pro tip: Use scraps for a rainbow of prairie points—an easy way to use up leftovers.
6. SCRAPPY Binding
Scrappy binding from @mondaymorningdesigns
Why stick with one fabric when you can use many? A scrappy binding pieced from different fabrics not only reduces waste but also ties together all the colors in your quilt. Here’s a how-to from Monday Morning Designs.
Why it works: Adds charm and spontaneity. Great for scrap quilts or when you can’t pick just one binding fabric.
Pro tip: Keep pieces fairly long (10”–12”) so the binding feels cohesive, not chaotic.
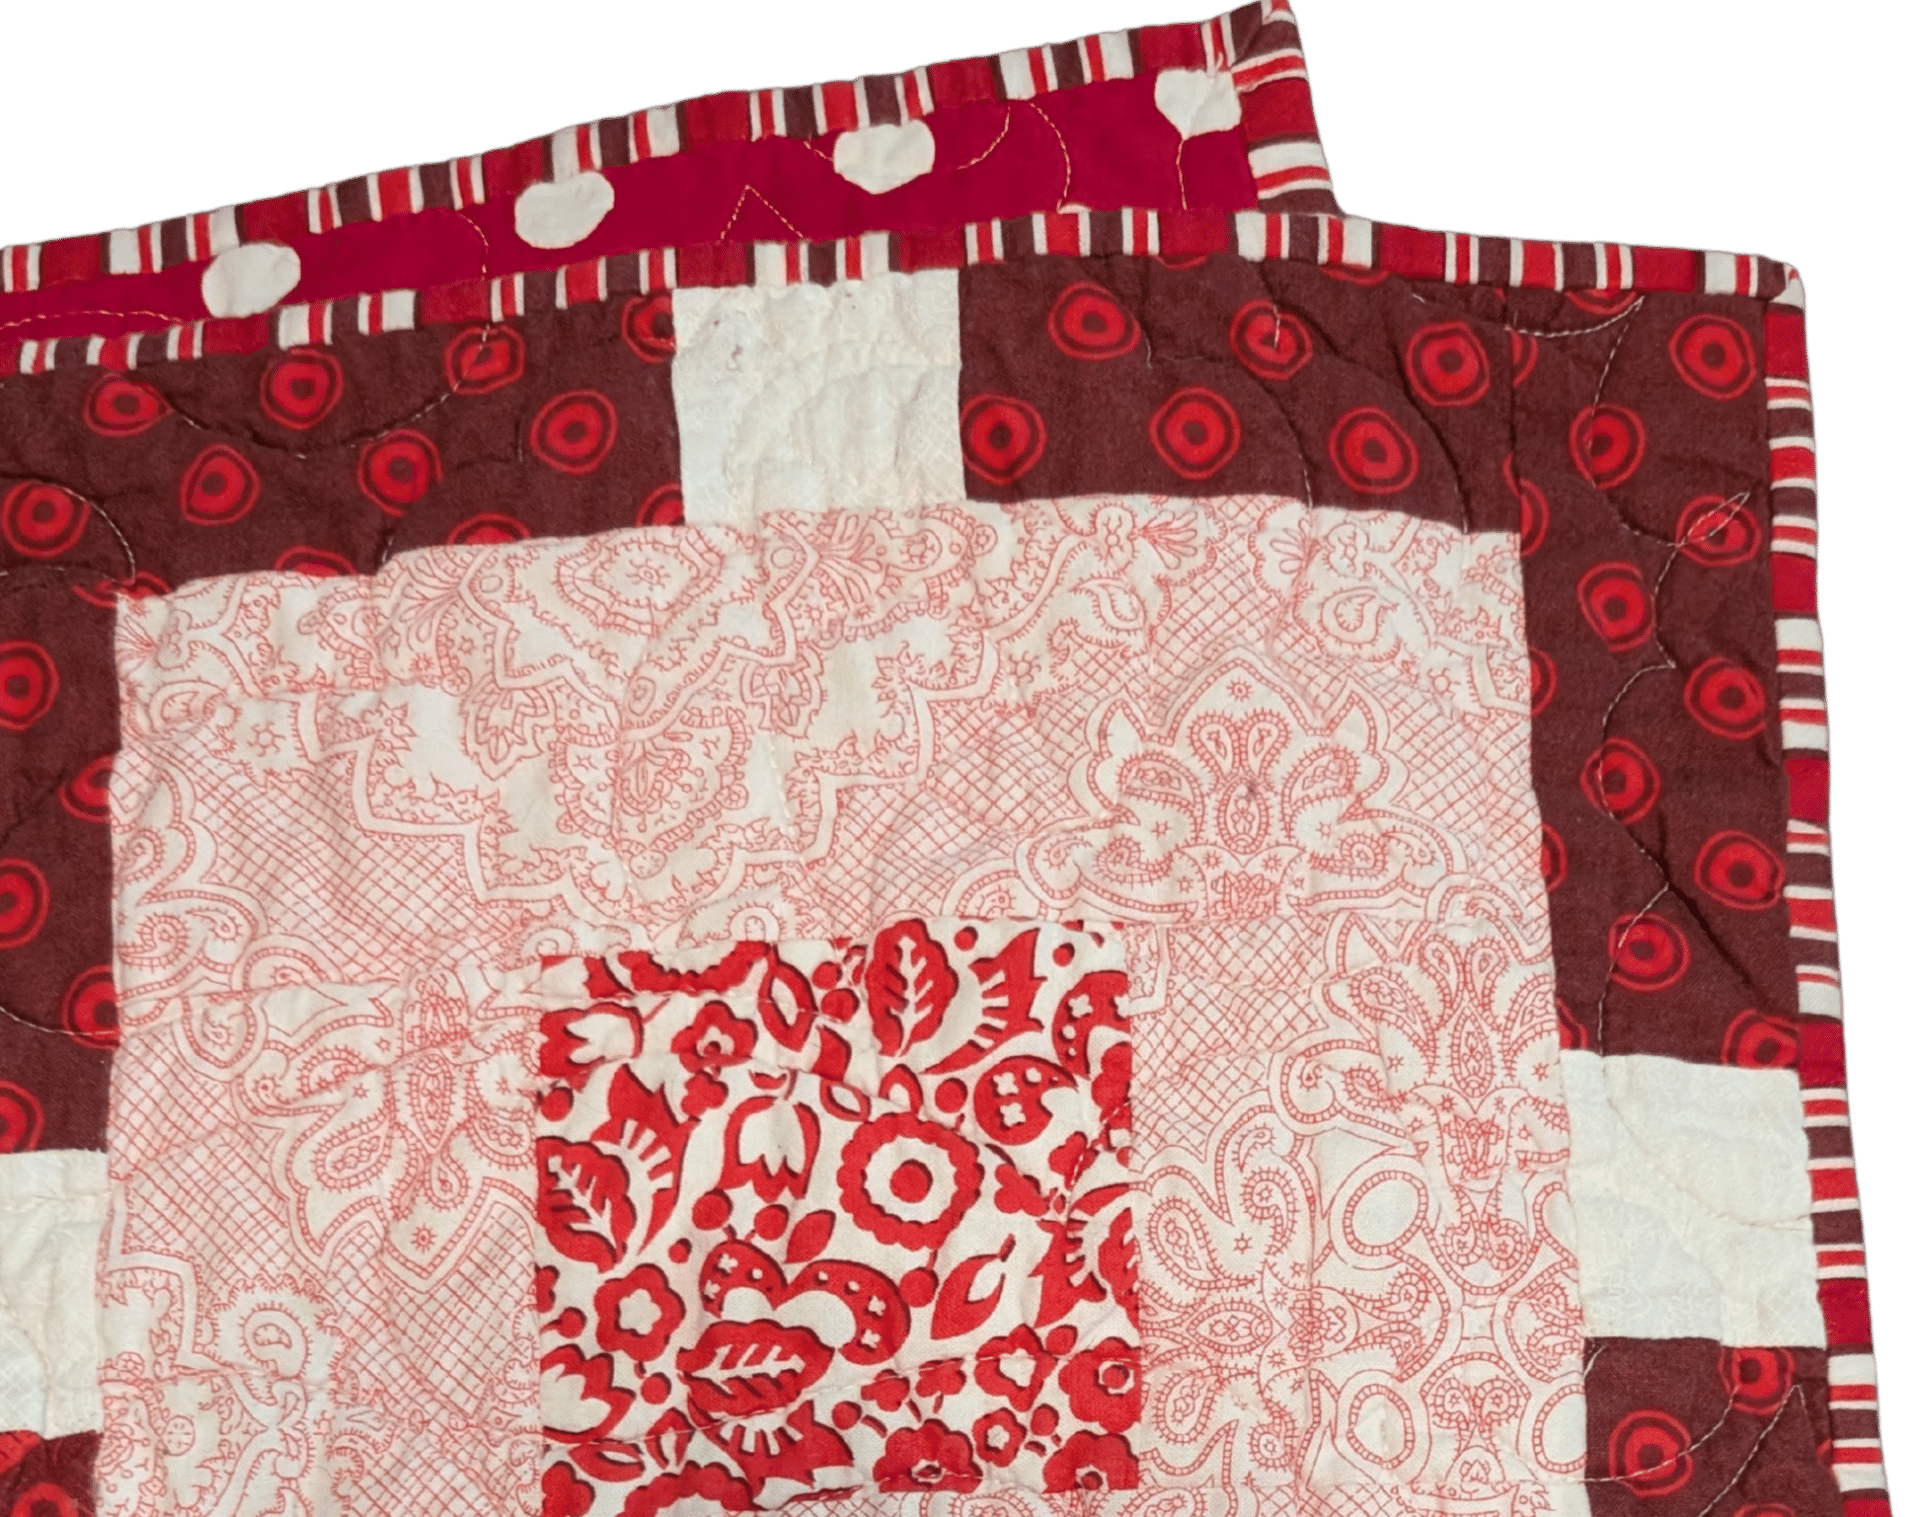
7. Directional Prints as binding
Directional prints add visual interest. @cindy_olsen_61
Stripes, chevrons, plaids, or other directional prints can transform binding into a statement edge. When wrapped around a quilt, directional prints create a design element of their own. Stripes may read like tiny borders, chevrons create playful zigzags, and words running along the edge add a secret message.
Why it works: Turns fabric design into a framing feature. Adds sophistication, humor, or movement depending on the print.
Pro tip: Cut your binding on the bias for diagonal stripes or at just the right angle to make a chevron line up perfectly around corners.
Final Thoughts
Binding is often treated as an afterthought, but it’s really the exclamation point at the end of your quilt. Whether you go bold with prairie points, subtle with facing, playful scallops, or clever with directional prints, your choice of binding can transform a quilt from beautiful to unforgettable.
So next time you’re at that final step, ask yourself: Does this quilt want to whisper or shout? Then pick a binding technique that helps it do exactly that.
Hey there, I’m Theresa, The AI Quilter. I’m here to help you connect technology and creativity in ways that feel human, creative, and completely your own.